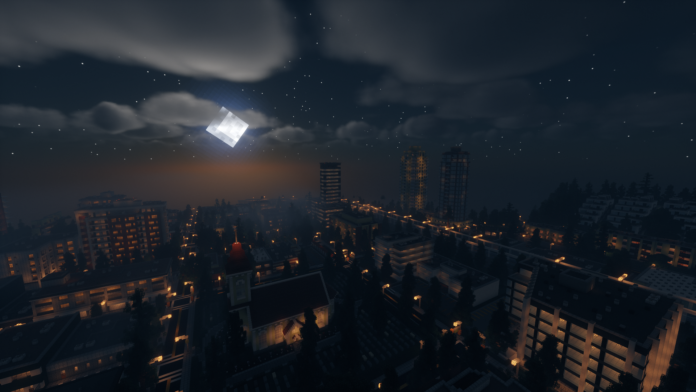
Unlike many lightweight shaderpacks, Chocapic13’s Shaders 1.18.2 tries to maintain a decent quality level even at the lowest possible preset. The high-end presets are able to run at around 80-100 fps, and over 120 on a simple scene on a mid-range GPU like the RX 570 or the GTX 1060 while offering high-quality visuals.
Chocapic13’s Shaders is the baseline for many other shader packs out there. It is highly popular among shader pack developers because it is easy to work with, and many of the simplest things have already been taken care of, which leaves those developers time to work on the large changes and modifications they want to make.
Features
- Dynamic Time of Day cycle
- Physically plausible High Dynamic Range lighting system
- Shadows with variable penumbra size
- Variable density volumetric fog with shadows
- Volumetric clouds
- Water shader with water fog, reflections, caustics, and refractions
- Screen-Space Global Illumination (SSGI)
- High-quality Temporal Anti-aliasing and upscaling (TAA / TAAU)
- Custom Nether and End with biome support
- Bloom
- Depth of Field
- Contrast-adaptative sharpening filter
- Wavy plants
Screenshots:
How to Install Chocapic13’s Shaders
- Download and install Minecraft, set up your game profile of the version you want to run.
- Download and run the Optifine jar file with java. It will install a new Optifine profile.
- Run the Minecraft launcher and select the newly created Optifine profile.
Start the game. - Goto Options -> Video Settings -> Shaders and press on the “Shaders folders” button at the bottom of the screen.
- Download my shaderpacks and place them in the newly opened window.
- Select my shader pack from the list ingame and enjoy your new visuals!

